
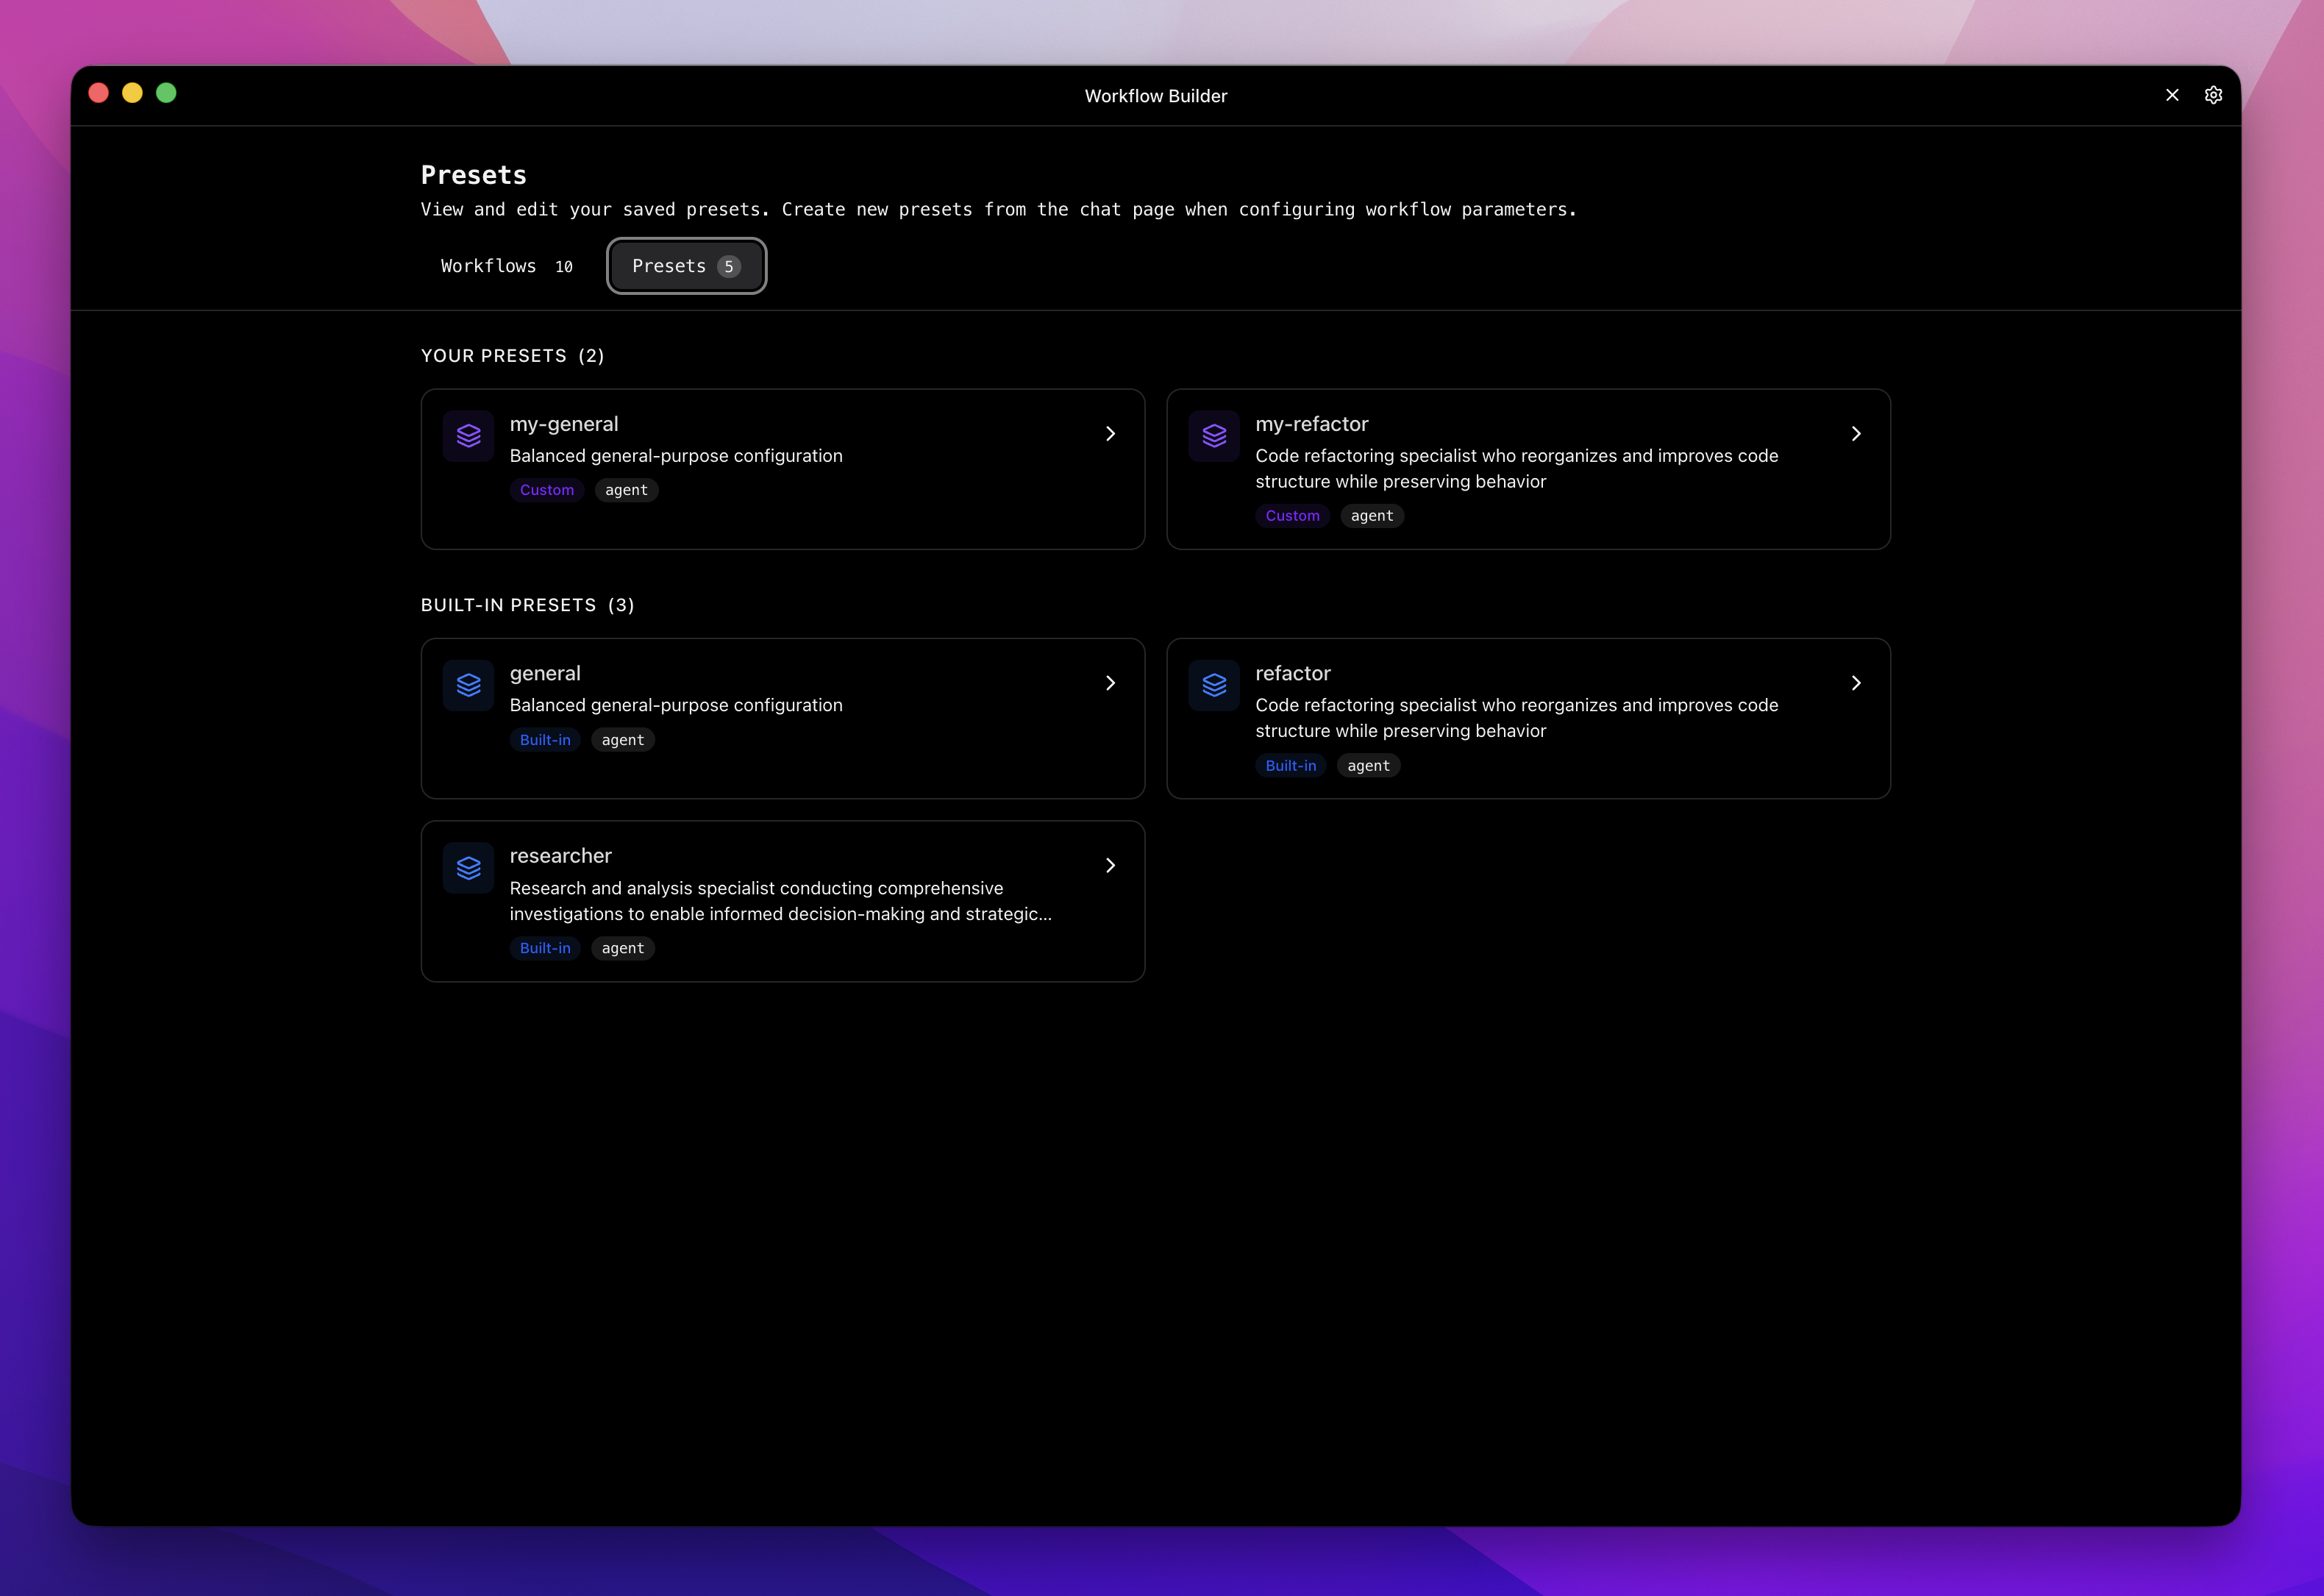
How Presets Work
Presets use tag-based matching to connect with workflows. Every preset declares atag that specifies what kind of workflow inputs it targets. When you load presets for a workflow, Reliant matches the preset’s tag against the workflow’s tag or a group’s tag for multi-agent workflows. Only presets with matching tags appear as options.
A preset with tag: agent works with any workflow whose presets: block declares tag: agent, or that has a group tagged agent. The same researcher preset can configure a standalone agent workflow, or configure just the research phase of a multi-phase workflow—the tag matching handles it automatically.
Presets can be partial. A preset doesn’t need to specify every parameter the workflow accepts. It might only set model and temperature, leaving other parameters to their defaults or to be configured inline.
However, every parameter a preset does specify must exist in the target workflow. Presets can’t include unknown or extra parameters—strict validation catches typos and stale parameters early rather than silently ignoring them.
When multiple presets match different groups in a workflow, each group gets its own preset selection. A multi-agent workflow might have one group configured with the researcher preset and another with the code reviewer preset.
Targeting Top-Level Inputs with “default”
In multi-group workflows, you may need to apply a preset to the workflow’s top-level inputs (those not in any group). The special group namedefault targets these ungrouped inputs.
default has this special meaning, you can’t name your own input groups default. If you try, the workflow will fail validation with an error indicating that default is reserved.
Provider-Agnostic Model Selection
Presets use tag-based model selection to work across different AI providers. Instead of hardcoding a specific model, presets specify what they need semantically:powerful— The frontier tier, for when capability matters more than cost; its models run at the highest thinking levelflagship— Best quality for complex tasksmoderate— Good balance of quality and costfast— Quick responses for simple taskscheap— Lowest cost for budget-conscious usagereasoning— Extended thinking capabilitylocal— Runs on local hardware (Ollama, LM Studio, etc.)
tags: [local, fast] prefers models with both tags, but falls back to local-only or fast-only models if no perfect match exists. This enables graceful degradation—presets work whether or not users have local models configured.
Built-in Presets
Reliant includes fifteen built-in presets. They are available immediately without configuration. Models are chosen by tag, so each resolves to whatever your providers offer:flagship is the best available, moderate is a balance of quality and cost, and fast is the quickest. Tools named tag:... are groups; tag:coding:default is the standard coding set (files, shell, search, web, planning).
The table summarizes the preset files that ship in the Reliant source (
internal/workflow/builtin/presets/). For a preset’s complete tool list, spawn list and system prompt, open Settings → Presets and choose View on it.
Detailed Examples
researcher is ideal when you need to understand a codebase before making changes. It follows a methodical investigation process: planning and scope definition, architecture and codebase analysis, pattern recognition, and historical analysis. The agent maps dependencies, identifies conventions, and documents findings—producing research that informs implementation decisions. refactor handles structural code changes safely. It uses specialized tools likefind_replace for renaming across files and move_code for relocating functions. The strict methodology requires: assess and plan the changes, verify tests pass before starting, execute incremental transformations, and verify behavior preservation after each step.
debug coordinates the debugging process by spawning specialized agents rather than doing everything itself. It delegates investigation to researchers and test isolation to testers. The goal is identifying the root cause with high confidence before any fix is attempted.
Creating Custom Presets
Custom presets live in.reliant/presets/ in your project directory. Each preset is a YAML file:
Preset Structure
tag field determines which workflows and groups this preset can configure. Most presets use tag: agent to match the standard agent workflow inputs.
Configurable Parameters
model: The AI model to use. Specify by explicit ID ({ id: "<model id>" }, from the Models reference), by semantic tags ({ tags: [flagship] }), or constrain to a specific provider ({ tags: [moderate], provider: "anthropic" }). Tag-based selection makes presets provider-agnostic—they work with whatever providers you have configured. The tags are the ones listed above.
temperature and thinking_level: Settings of the model block (model: { tags: [flagship], temperature: 0.2, thinking_level: high }), not parameters of their own. Temperature runs from 0 to 2: lower values (0.1-0.3) produce focused, repeatable output for research and debugging, higher values (0.7-1.0) more varied output for brainstorming. thinking_level is low, medium, high or xhigh, clamped to what the chosen model supports.
system_prompt: Instructions defining the agent’s role, approach, and constraints. This is where you customize behavior most significantly.
tools: Tools the agent can access. Specify by name (view, edit, shell) or by tag (tag:coding:default, tag:shell, tag:web, tag:mcp).
spawn_presets and skills: The presets this agent may spawn as sub-agents (empty disables spawning), and the skills preloaded into it.
A preset can set only what the target workflow declares as an input. The built-in agent workflow takes mode, model, tools, spawn_presets, skills and system_prompt; other workflows declare their own, and a group’s inputs are whatever that group lists.
Provider policy: providers:
A preset can say which providers a run prefers and what it does when they are rate-limited. It sits beside params, not inside it, and it is plain data (no expressions):
Unknown keys, unknown providers and a
fallback with no model are rejected when the preset loads.
Who wins. For a sub-agent: the providers argument of its spawn call, then its preset’s providers:, then what it inherits from its parent. Each field resolves on its own, so a spawn that only sets prefer keeps the preset’s on_limit. The root of a chat takes the chat’s own choice (the If <provider> is rate-limited row in the model settings), then the preset, then the Settings default (Settings → AI → Your providers). A model pinned as <model>@<driver> still decides which provider the run is on; the policy applies around it.
Tool Specification
!tag:shell— exclude an entire tag after includesmcp__server__*— include all MCP tools from a server via wildcard!mcp__server__tool— remove a specific tool
tag:coding:default) with precise exclusions for safer preset defaults.
Config-as-Code
Presets in.reliant/presets/ are regular files that can be checked into version control:
Team standardization: Share agent configurations across your team. Everyone uses the same carefully tuned presets.
Project-specific customization: A security-focused project might have stricter code review presets. A documentation project might have presets optimized for technical writing.
Iterative improvement: Refine your presets and commit the improvements. Your agent configurations evolve alongside your codebase.
Override built-ins: Project presets with the same name as built-in presets take precedence. Create a general.yaml in your project to customize the general preset without changing Reliant itself.
Where presets come from
A project sees three kinds of preset:
A project preset with a built-in’s name replaces that built-in. Your own presets cannot reuse a built-in or project preset’s name: saving one with a taken name is refused, so a name always means one preset.
The machine the project is on syncs
.reliant/presets/ to Reliant every couple of seconds, so a preset file you save is available without a restart. Workflows follow a different rule: a workflow of your own shadows a project workflow of the same name: (see Workflow file location).
Examples
Specialized Debugging Preset
For complex debugging sessions requiring maximum context:Fast Implementation Preset
For straightforward tasks where speed matters:Security Audit Preset
For security-focused code review:Managing Presets in the App
Presets can be created as YAML files, and the app has three places to pick and manage them.Picking a preset in a chat
The chat composer’s settings (the Show all settings button beside the model) have a Preset page listing the presets that fit the selected workflow, grouped as User, Project and Built-in. Choosing one applies all of its parameters; None (use defaults) goes back to the workflow’s own defaults.Settings → Presets
Settings → Presets lists every preset in the current project: Your presets (yours and the project’s), Built-in, and any that Failed to load, with the reason. Each row’s menu has View, which shows everything the preset sets; Copy to new preset on a built-in; Edit and Delete on your own; and Hide from preset picker, which keeps a preset out of the composer without deleting it. Project presets are changed by editing their YAML files, so the app offers no edit or delete for them.A workflow’s presets
In Workflows → Library, open a workflow: its Presets section lists the presets that fit it, and Default presets… sets which preset each of its groups starts with when a chat or run begins.Creating Presets in the App
Wherever the app shows a workflow’s input group as a form, such as Run… on a workflow’s page, the Enable dialog, or a step in the workflow builder, changing the group’s values marks it Modified from the preset it started from, and offers two ways to keep the change:- Save as new asks for a name and saves the group’s current values as a new preset of your own.
- Update, shown with the preset’s name, writes them back into the preset you started from, when it is one of yours.
.reliant/presets/ instead.
What Gets Saved
- Model (including its temperature and thinking level), tools, system prompt
- Tag (inherited from current workflow/group)
Best Practices
Name presets descriptively. Use names indicating purpose:fast-prototyping, careful-refactor, security-audit. Avoid generic names like my-preset.
Write useful descriptions. Include what makes the preset different: “Lower temperature for deterministic debugging” or “Opus model for complex architectural decisions.”
Start from built-in presets. If one is close to what you need, select it first, make adjustments, then save as new.
Related Topics
- Multi-Agent Patterns - How presets configure agents in multi-agent workflows
- Workflows - Overview of the workflow system
- Creating Custom Workflows - Build workflows that use your presets